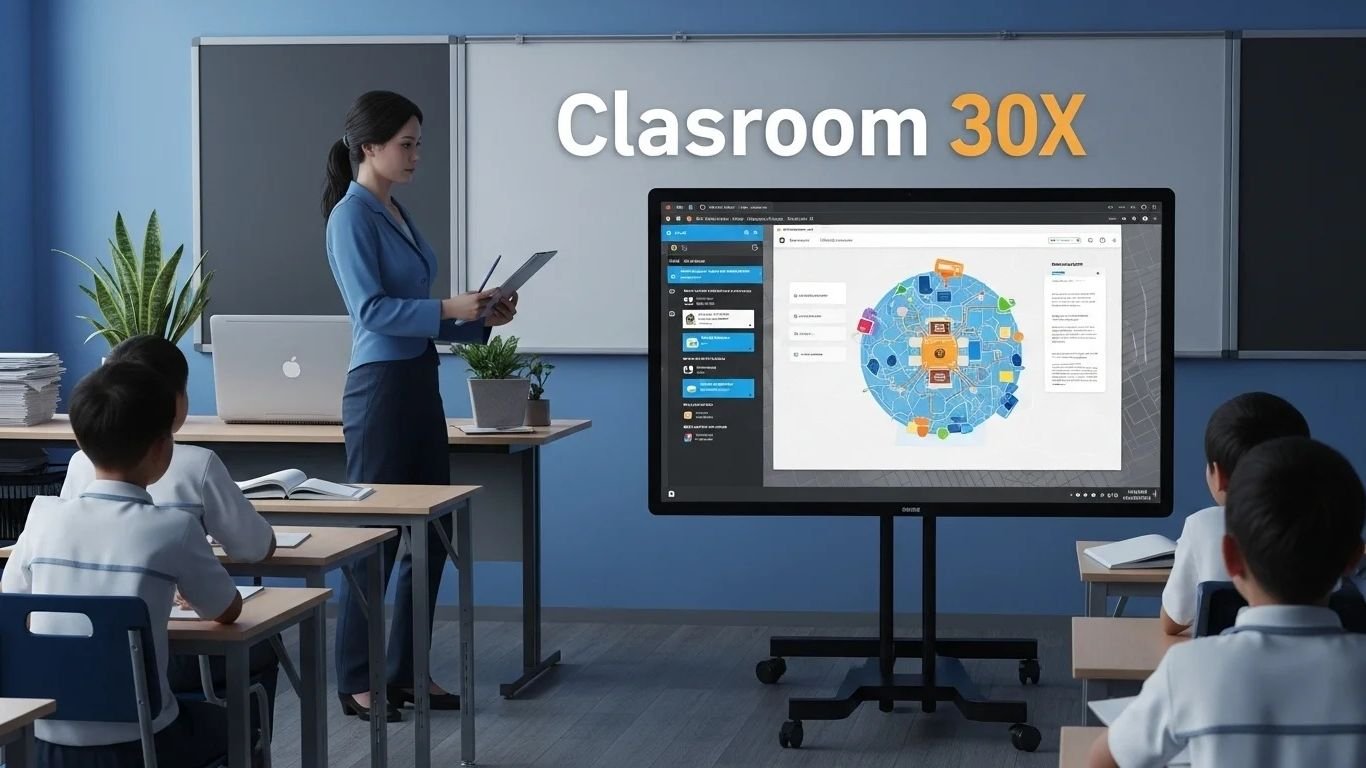
The way people interact, the area, and the way teachers teach all have a big impact on how much people learn. But most of the time, people don’t notice the technology behind those walls. Classroom 30x is a new tool that is getting a lot of attention. It promises to make lessons more focused and bring students together. A lot of teachers only look at desks and screens without looking into the hardware, software, and assistance that make the experience possible. What real difference would it make in teaching to look more closely at these little things?
Teacher and admins can make better decisions from the start if they learn how Classroom 30x works. Knowing what tools, platforms, and network needs to be used can save money, keep kids interested, and stop problems. Schools can avoid last-minute surprises and consistently improve learning results if they have a good understanding of each layer. This guide will show you how to use Classroom 30x in a way that makes it a game-changer in the classroom.
30x Vision in the Classroom
The main idea behind Classroom 30x is to make every lesson count by getting rid of tech problems that get in the way. Classroom 30x is made up of three main parts: an interactive screen, high-quality sound, and unique software tools. This mix makes sure that teachers are able to teach instead of fixing bugs. The idea asks schools to rethink old monitors and speakers that are separated into a bunch of different parts. Instead, 30x brings a single platform that is based on a big plan that matches the tech choices with the goals of teaching. For warranty, training, and updates, educators only have to deal with one person. Before the students come in, developers and admins can plan out how the mics, screens, and whiteboards will work together. Starting with a test classroom is a good way to get real feedback. Tech teams check how busy the network is, teachers test how the lessons flow, and students talk about their experiences. This hands-on test shows what needs to be changed, like the volume or how to use the new settings. It feels normal to move on to other rooms from here on out; the steps repeat with fewer surprises. For long-term success, keep track of training breaks and how well hardware works. Plans should be changed every term, and students should be able to help make the setting better. Schools get off to a good start by focusing on goals first. With a clear picture of what’s coming, it’s easier to move on to the next step, which is the tech details.
Important Hardware Needs
Getting the right tools is the first step in setting up Classroom 30x. To make sure that music, video, and interactive features work without any problems, all of the parts must work together. Buying good gear up front will save you time and trouble down the road. It’s like making a house: if the walls or wiring aren’t strong, the whole thing could fall apart. The equipment that Classroom 30x uses has to meet clear standards and work well with your school’s network.
- Interactive Touch Display: A screen with a high clarity and the ability to handle multiple touches so that notes and media are easy to see.
- Integrated Sound System: Good speakers and mics on the ceiling or on a tabletop or in the ceiling that are meant to spread your voice out evenly and reduce feedback.
- A media controller box is a central hub that makes it easy to connect sound equipment, document cameras, screens, and input devices.
- With the Wireless Presentation Adapter, teachers and students can share screens from computers, tablets, or phones without having to use cables.
- The document camera shows a clear picture of paper, experiments, or 3D items on the main screen while taking a picture of them in real time.
- Cable Management Kit: This kit keeps all of your cords grouped, labeled, and out of sight so you don’t trip over them and can easily fix problems.
- Surge Protector: This device keeps sensitive gadgets safe from sudden changes in power and keeps the current steady.
When choosing a brand, give local warranties and quick tech help the most weight. Choose gear with standard ports, like HDMI and USB-C, so that it will work with other devices in the future. A useful tip is to keep extra batteries, cords, and adapters in a small supply bin. This easy-to-reach kit helps teachers fix small problems quickly and keep lessons running smoothly. It’s safe to move on to the program layer now that the hardware is set.
A Guide to Software Platforms
Software puts Classroom 30x to life by giving students ways to work together, be graded, and get content to them. If you choose the right apps and platforms, the gear you bought will work at full speed. Before you choose, you should think about how easy it is for teachers to use, how much it costs to license, and how well each tool fits into your school’s current digital environment. Here are some important program parts to look into:
- The interactive whiteboard app lets teachers make notes on any material, save them, and then share them with students after class.
- Classroom Management Suite lets you handle student devices from afar, take screenshots for attendance, and send and receive messages.
- With a learning management system (LMS), you can keep track of your grades, post tasks, and find all of your course materials in one place.
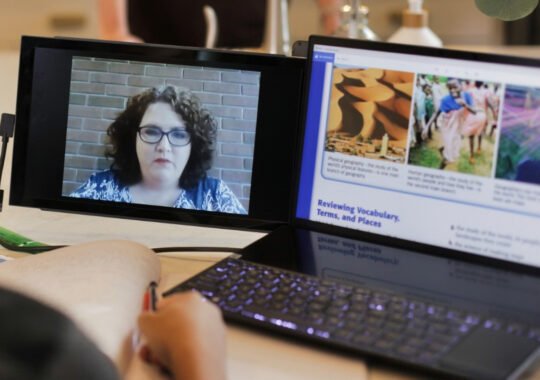
- A video conferencing tool is necessary for hybrid or remote teachers because it lets them share their screens and record them.
- Assessment software lets you get feedback in real time and keep track of your progress through quizzes, polls, and surveys.
You should also think about how to integrate a gradebook, how to support mobile devices, and how to control privacy. A lot of new suites have data screens that show trends in how engaged students are. You can quickly change lessons if you see that attendance is dropping. Also, look for sites that let you access them even when you’re not online. This can be very helpful in places where Wi-Fi is spotty. Trial lessons should be done with a small group of teachers and tech staff. They can fix bugs and suggest ways to make things better. Once you have feedback, make sure that your decisions are finalized, set up training sessions, and plan regular check-ins. When the software and hardware are in sync, Classroom 30x will give you the smooth learning experience you’ve been looking for.
Needs for Connectivity
The unsung star of Classroom 30x is a stable network. You can share screens and make video calls clearly if you have fast internet, safe Wi-Fi, and enough data. First, check how much your network can handle by checking the upload and download speeds in a few classes during busy times. At the very least, you’ll need 50 Mbps per busy room. Then, use a site survey tool to look at your Wi-Fi range and find any dead spots.
For key equipment, wired connections often work better than Wi-Fi. When you can, connect important things like the media command box straight to a switch. For easy troubleshooting, label each port and change the color of the wires. Use access points made for businesses for wifi, and keep the student and teacher networks separate. This makes things safer and stops one group’s streaming from slowing down the video feed for the other group.
Do not forget about managing digital material. A lot of schools have trouble with lost papers, files that are spread out, and USB drives. You can keep lesson plans and tools in one place in the cloud by following larger document management trends. Make sure files are properly tagged, that permissions are set based on job, and that backups are done automatically. That way, teachers will never lose their best slides or work from kids.
Think about when the best time is to update the software on new switches or routers if you’re adding them. Monitor traffic with easy-to-use tools and set alarms for drops that don’t seem normal. A few hours of planning now will save a huge amount of time later when you need to fix problems. If you set up a good network, Classroom 30x will work just as well as any high-end meeting room.
Steps for Installation
It can be scary to roll out Classroom 30x in a new room. The project stays on track when it is broken down into clear steps. This is an easy set-up plan that schools can use:
- Get the Area Ready: Clear the walls, check the sites of the studs and power outlets, and measure the space for the display mounts.
- Mounting Displays and Speakers: Use the suggested brackets to hold the interactive display and sound equipment in place, making sure they are at eye level.
- Install Media Controller: Put the controller box in a cabinet or rack that is easy to get to and has good air flow.
- Plug in the HDMI, USB, power, and audio cords to connect the hardware. Put labels on both ends and run them through the slots for managing cables.
- Set up the network. Give important devices static IP addresses or DHCP reserves, and connect them as planned, whether they are wired or wireless.
- Load Software and Licenses: Put in the management suite, the interactive whiteboard app, and any other tools that have been accepted. Turn on licenses and finish setting up sign-on.
- Test Functionality: Use the screen sharing, document camera capture, audio tests, and remote access tools to make sure they work. Write down any problems.
- Train teachers: hold a hands-on workshop that goes over basic controls, how to fix problems, and where to get help.
- Get Feedback: Ask early users to rate how comfortable they are with the product and make ideas for how it could be improved.
- Finish the documentation: Keep floor plans, user guides, and port assignments in a public folder so you can find them again later.
Taking these steps in the right order helps the team stay on track and prepared. If you run into a problem, go back to the step that caused it instead of rushing at the end. Remember to write down the serial numbers, software versions, and test results in an installation log. When a gadget breaks or needs to be upgraded, that record is very helpful. Every deployment goes more smoothly when you have clear processes. They also help your tech team feel more confident.
Maintaining and helping out
Support is needed to keep Classroom 30x running smoothly after it has been set up. Make an easy maintenance calendar and plan regular checks. For instance, clean the screen and camera lenses once a month, check the cable links every three months, and make sure the audio is calibrated every two years. This kind of proactive care keeps big problems from happening and makes your investment last longer.
Tell teachers to report problems early on. Make it easy to submit tickets or even set up a chat channel so that small problems can be solved quickly. A “classroom champion” is a tech-savvy teacher who can help with small problems and give other teachers advice. This works well for many schools.
Take some ideas from smart home lighting systems for another useful tip. You can script Classroom 30x to do things like run updates every night, dim screens after hours, or turn devices off on the weekends, just like those setups do. Small automations like these use less energy and make tasks easier to do by hand.
Always try updates in one room before rolling them out to the whole campus, but make sure that firmware and software are always up to date. Keep a copy of the configuration files and extra parts on hand. Also, look at usage statistics, help desk logs, and teacher comments every term to see how well you’re doing. Use that information to make plans for changes, new features, or better training. Over time, your school network changes without you having to worry about sudden problems.
In conclusion
Hardware, software, and network design are all housed under one roof in Classroom 30x, so training environments are truly seamless. You can set the stage for dynamic, interactive learning by knowing the goal, putting together solid rooms, picking the right platforms, and fine-tuning your network. There should be clear steps for setting up the system and a plan for ongoing help so that it stays reliable and can be changed to meet new needs. Teachers can avoid having to fix problems all the time by teaching students good maintenance habits and automating jobs that can be done on home technology.
The path will be a little different for each school. Start small with a test, ask teachers for feedback, and keep making your plan better. Over time, the things you learn turn into a plan that you can use across campus. This saves time and makes sure that everyone follows the same rules. In the end, technology in the classroom makes students more creative, keeps them more interested, and lets teachers focus on teaching. If you use Classroom 30x, you’re not just setting up equipment; you’re also shaping the future of education. Are you ready to move on?