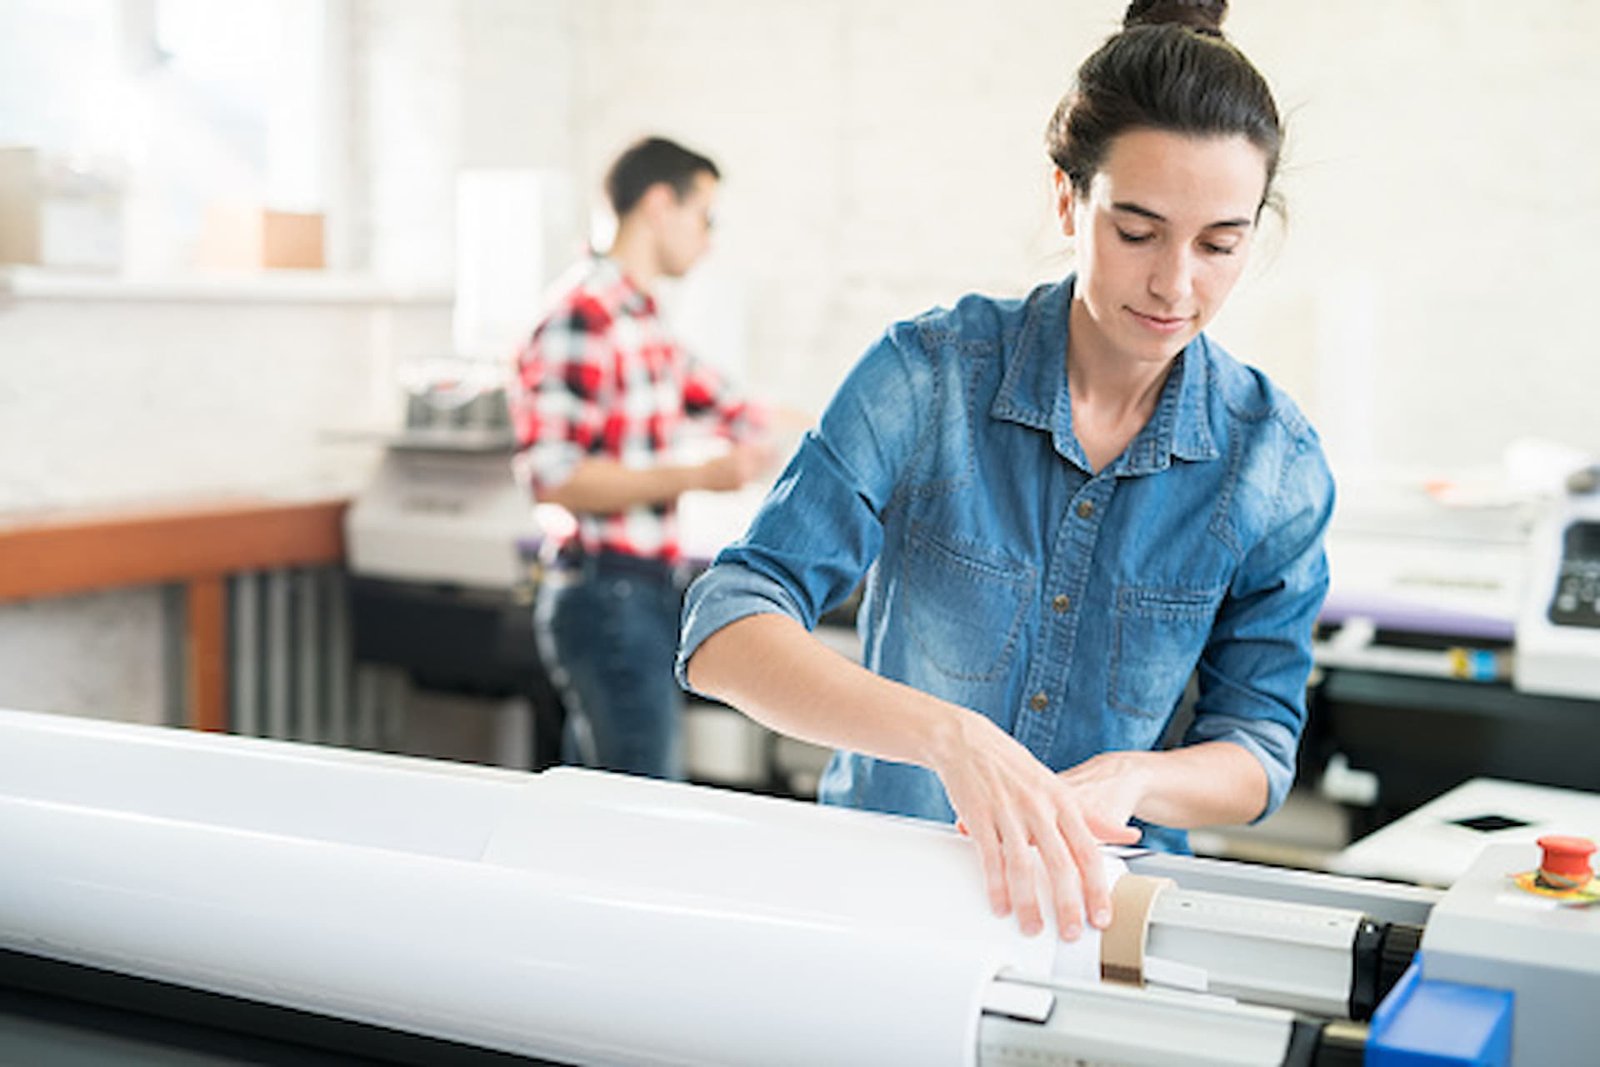
It can be challenging to create a large format file for printing, but with a few straightforward steps, it becomes simple.
Finding a Large Format Printing Service Provider
Whether trying to advertise a new product or your business, large-format printing can make your message stand out. It’s a great way to attract attention and excite people to become your customers.
The best large-format printing service provider will have experience and expertise. These professionals, like Dandreavisual.com, will be able to bring your ideas to life and help you make them memorable. They’ll also be able to suggest ways to make your designs more eye-catching and unique.
Additionally, your large-format printing service provider ought to provide a range of goods and solutions. These can be flyers, banners, stickers for windows and storefronts, floor graphics, and more. They can also design brand-new company signs with unique graphics.
It’s essential to choose a large format printing service provider that offers UV-cured inks for your projects, which will help them last longer in the elements. UV printers are also flexible enough to use some water-based inks.
Before choosing a large format printing service, ask what printers they use and whether they have boom lifts and other tools to ensure your prints are high quality. You may also want to ask if the company has industry certifications, which indicates that they are a trusted source for extensive format printing services.
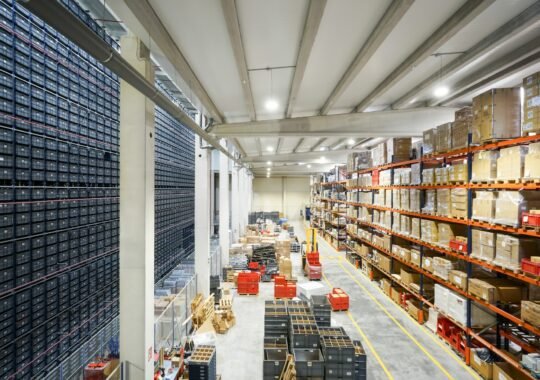
Large-format printing can create posters, banners, signs, and more. These products can help you attract attention to your business and increase your profits.
Scaling Down Your Image
Luckily, it’s easier to resize your picture for large-format printing. To make the process easier, stick to the 300dpi resolution range. Once done, you’re ready to resize your image for large-format printing.
You can resize your image by using the Crop tool. This tool has a Scale Photo box to enter your desired dimensions. You can also drag the corners of your picture to resize it.
It’s essential to keep in mind that resizing your picture for large format printing will cause more noise to be generated than if you had scanned it at the original size. This means that you’ll need to have some noise control measures in place. Luckily, you can use Photoshop to get the job done.
The first step in preparing your file for large-format printing is to think about how you’ll view the picture. It’s also a good idea to do some test printing to determine the exact distance between your monitor and the print. This will make it easier to measure the appropriate size for the enlarged image. It’s also important to remember that the size of your original painting will change depending on the paper used. This is especially true if you’re using a standard A4 form.
Consider using the Constrain Proportions icon to maintain your original width ratio to height. This way, you’ll see the best possible version of your image without stretching it out.
Converting Text to Vector Artwork
Creating vector artwork from the text for large-format printing is a simple process. The benefits of vector artwork over raster images are many. For example, vector images are much easier to edit and scale. They are also much smaller in size. This makes them ideal for large-format prints.
Vector graphics are a type of graphic design that uses algorithms to create lines and curves. They are often used for logos and other illustrations. They are also used in 3D graphics. Vectors are usually less detailed than rasters and can be scaled indefinitely without losing quality.
Proper Calibration and Profiling of Your Computer Monitors
Using your computer monitors for large-format printing is essential for accurately reproducing your content. Your printed content may be distorted without proper calibration and waste valuable ink and paper.
Monitor calibration and profiling are the processes of adjusting the physical parameters of your monitor to achieve accurate color reproduction. The best monitor calibration is performed when a monitor is factory calibrated.
Monitors can be calibrated by adjusting several physical parameters such as luminance, gamma, and white point. This calibration is performed by using special calibration software. In addition, some software has a verification function that re-checks the profile against a color patch.
Using a monitor that has been factory calibrated ensures that your prints are consistent and professional. Professional creators such as photographers, animators, and colorists have been among the first users of monitors with calibrated colors.
The calibration process is performed by a particular device fastened to the front of the monitor. The device looks like a computer mouse and sequentially measures each color. Finally, a report is generated to show the accuracy of the calibration over time.
After calibrating the monitor, it is essential to set the screen to industry standards. This is done using a reference print that illuminated a high-quality light source.
The monitor profile is a set of measurements created using profiling software. This profile is then stored on the computer. The profile consists of a copy of the monitor’s internal Look-Up Table (LUT), color space, and other measurement information.