
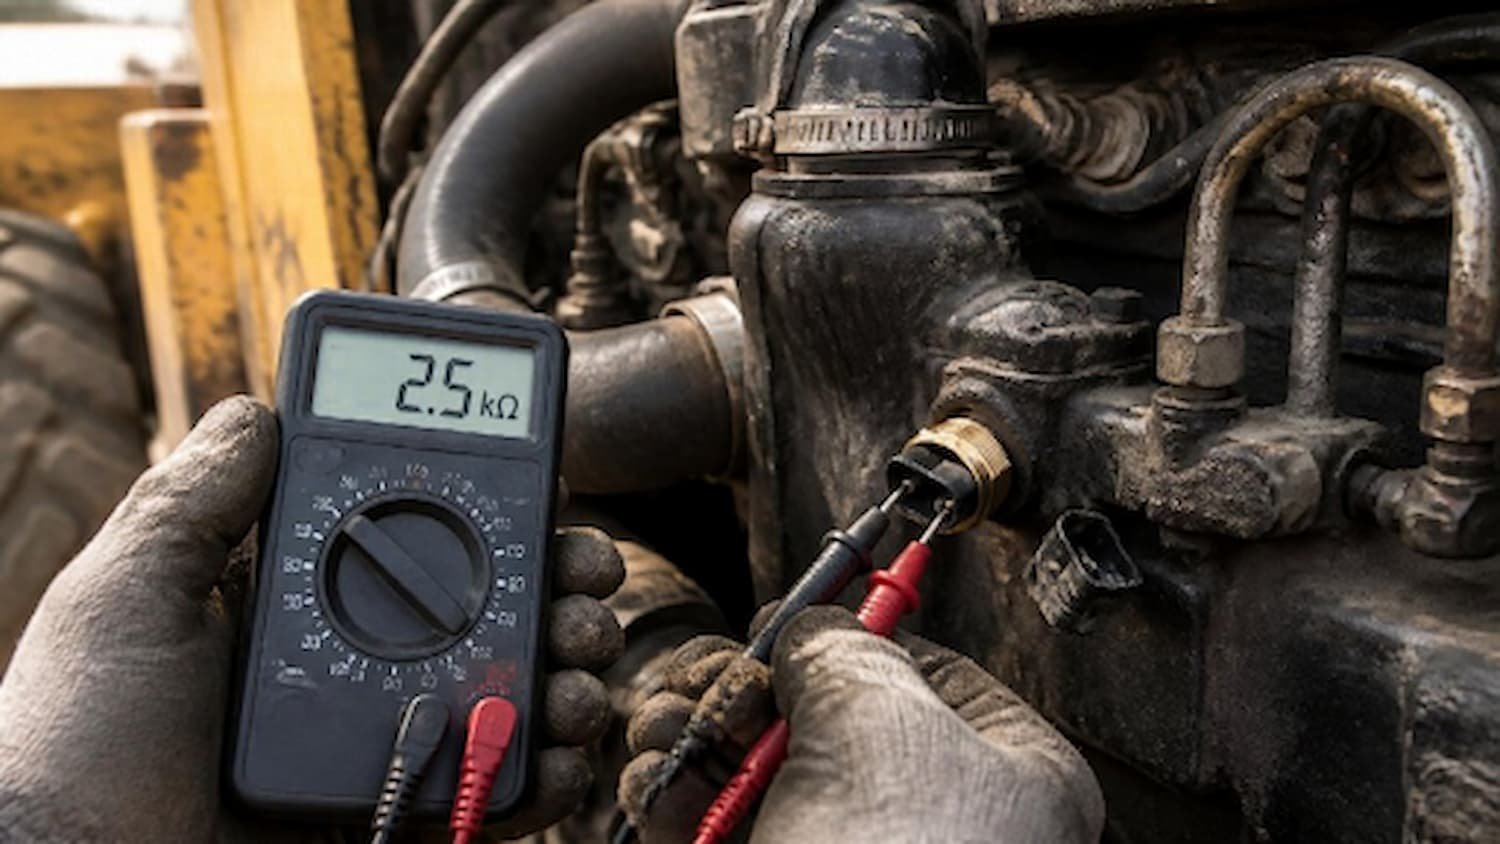
A bad coolant sensor can throw your heavy equipment out of whack—burning extra fuel, fighting to start, the whole deal. But before you drop cash on a new one, a quick multimeter test will tell you for sure if the sensor’s actually toast. This guide gives you a no-fuss way to test it in just a few minutes, saving both time and money. Just follow these steps and you’ll know exactly where you stand.
What Are 4 Symptoms of a Bad Coolant Sensor?
A failing sensor will give you clear warning signs. The engine’s computer relies on the sensor’s data, and when that data is wrong, it leads to noticeable performance problems. Watch for these four common symptoms:
- Poor Fuel Economy: The engine may run rich, consuming more fuel than necessary because the computer thinks the engine is cold.
- Black Smoke from Exhaust: An incorrect fuel mixture results in incomplete combustion, which produces black smoke.
- Hard Starting: Your machine may struggle to start, whether the engine is cold or already at operating temperature.
- Inaccurate Temperature Gauge: The gauge on your dashboard might show an extremely high reading, nothing at all, or fluctuate wildly.
What Tools Do You Need for the Test?
You only need a few basic items for this job. Having your tools ready will make the process quick and efficient.
- A Digital Multimeter: This is the essential tool for the test.
- Basic Hand Tools: A socket or wrench to remove the sensor if necessary.
- Safety Gloves and Glasses: Always prioritize safety when working on an engine.
How to Test a Temperature Sensor in 3 Simple Steps
This diagnostic process is logical and easy to follow. Make sure the engine is completely cool before you begin to avoid burns and ensure an accurate cold-resistance reading.
Step 1: Locate and Disconnect the Sensor
You must first find the sensor on the engine. It is typically a small sensor (most often two-wire, but sometimes one-wire or three-wire on older or heavy-duty equipment) threaded directly into the engine block or cylinder head, often near the thermostat housing. Once located, carefully unplug the electrical connector to expose the sensor’s pins.
Step 2: Measure the Resistance with a Multimeter
This step checks the internal circuit of the component. Set your digital multimeter to the Ohms (Ω) setting, specifically the 20k Ω range if available. Touch the multimeter’s two probes to the two electrical pins on the temperature sensor. The polarity of the probes does not matter for this resistance test.
Step 3: What Do the Ohms Readings Mean?
The reading on your multimeter tells you the sensor’s condition. A healthy sensor has a specific resistance value that changes with temperature.
- A Good Reading: A good sensor at cold engine temperature (around 20°C / 68°F) will typically show a resistance between 2 kΩ and 10 kΩ, depending on the manufacturer. Always check your equipment’s service manual for the exact spec. As a general rule, any reading in the low thousands of Ohms at room temperature is a sign the sensor is alive; the key is that resistance should drop smoothly as the sensor heats up.
- A Bad Reading: A failed sensor will give an out-of-range reading.
“A reading of ‘OL’ or near zero means the sensor has failed.”
If your multimeter displays OL (Over Limit), it means the resistance is beyond the meter’s range—in other words, the internal circuit is open (broken). If it displays a reading near zero, the sensor is shorted. In either case, the sensor is bad and must be replaced.
Bonus Step: Verify with a Hot Water Test
For a complete check, remove the sensor and dip its tip into a cup of hot water (around 80°C / 175°F). A healthy NTC sensor’s resistance should drop smoothly to roughly 300–400 Ω. If the reading doesn’t change, jumps erratically, or stays the same as the cold reading, the sensor has failed even if its cold reading looked normal.
Final Thoughts
This simple test removes all guesswork. If your sensor’s resistance reading is within the expected range for its temperature, the problem likely lies elsewhere in the system, such as the wiring harness or the engine’s computer. However, if the sensor failed the resistance test, you have successfully identified the faulty part.
By taking a few minutes to test before you replace, you ensure you are fixing the right problem the first time. This methodical approach is the key to an effective and efficient repair.